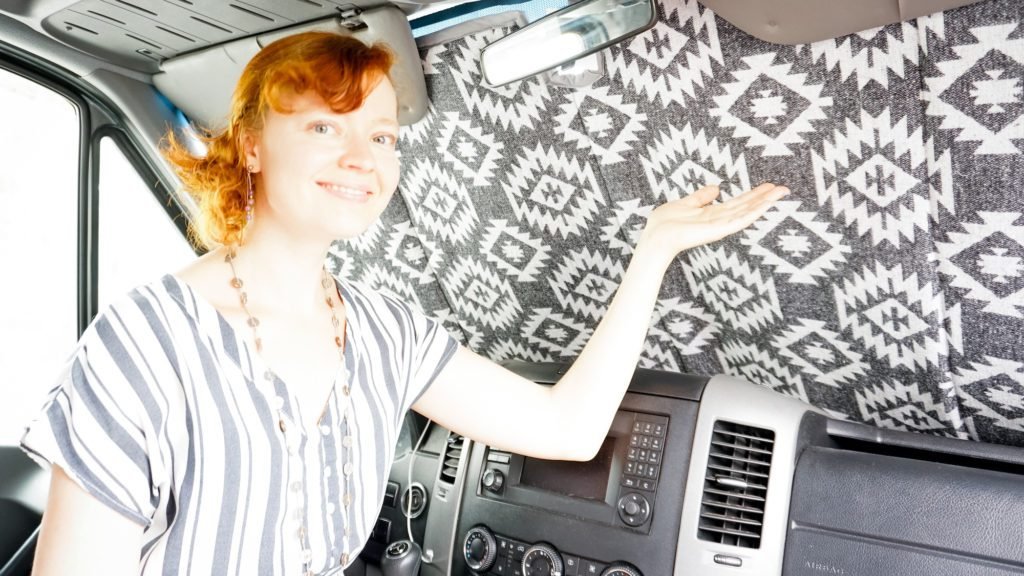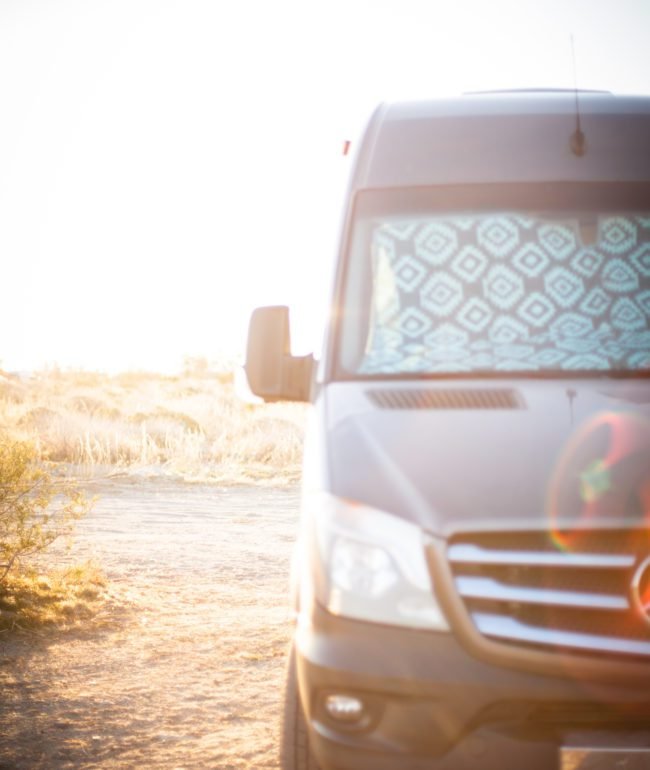
It is summer time! So many of us are excited to start traveling again soon, getting out to nature and enjoying the outdoors… especially after being under stay-at-home orders for weeks. And while traveling this summer may still be somewhat restricted, you will surely do at least a couple of roadtrips, whether it is solo, with family or a group of close friends.
A great insulated windshield sunshade will keep temperatures more controlled in your camper van or car, which means you will have much more pleasant experience traveling and being in your vehicle.
It will also keep your dashboard and electronics looking nice and new longer
Camper travelers – consider making window coverings for all your windows, even side driver and passenger windows. For our self-converted Mercedes Sprinter van I made fabric pull down shades with thin reflective barrier cloth in between and also a few window coverings with magnets and Reflectix on the inside. If you are interested in learning how to make these, comment below and let me know.
Why Make Your Own Sunshade?
First of all, how cool would it be to have your own unique handmade sunshade, only one of a kind in the entire world? It would bring a smile to your face each time you look at it 
Additionally:
You can tailor the size to exactly fit your vehicle’s window and make it a great energy-efficient tool for your vehicle, reducing the amount of A/C you might need to cool off and, therefore, less generated CO2 (our planet thanks you!) and, of course, cost savings on gasoline or diesel. Win-win-win!

You will save money on making your own sunshade cover instead of buying it. If you shopped for van camper sunshades, you know what I am talking about. I made my own sunshade for less than $60 and, depending on the fabric you choose, you might be able to save even more. For cars there are some affordable options out there, but admit it – most of those are pretty boooooring!
You can make a choice to use healthier more natural materials, such as wool, linen, cotton, silk, etc. From health perspective, everything that we touch, inhale and surround ourselves with ends up in our bodies and can potentially become a toxic burden for liver. I have written a blog article about the importance of using the non-toxic materials when building your tiny home, and it is especially important for things we touch and use daily to be as natural as possible. Reflectix is generally considered non-toxic (especially, compared to foam or foil sun shades on the market), but if you are concerned about plastic content and want to go as healthy as possible, try wool batting or something similar.
You will have fun playing a role of interior designer and looking for fabric patterns and colors that speak to you or represent you. Maybe you will like this project so much, that you will end up creating a few windshield covers – for different seasons and occasions!
A great sun shade will protect your dashboard and electronics and will keep your vehicle interior looking new longer.
And last, but not least, is privacy! People won’t be able to look through your vehicle while you are enjoying your traveling / camping experience.


Materials:
(measurements will vary based on the size of your vehicle)
~ 4 yards of fabric of your choice. Light weight fabric is preferred, such as cotton; if fabric is heavy, you might need suction cups to attach the sunshade to window
~ 2 yards of bubble Reflectix
6 yards of bias tape
Heavy duty thread of your choice
(Optional) 2-4 suction cups if your fabric is heavy and sunshade doesn’t have a snug fit
Supplies and equipment:
Sewing machine
Sewing machine needles suitable for upholstery
Scissors or rotary cutter for fabric
Sewing pins and sewing clips
Measuring tape
Cutting mat (optional)
Chalk or fabric marking pens
Directions:
Before buying fabric, measure the windshield carefully and use brown construction paper to create a template. In some vehicles top and bottom of the window may not be the same width. Tip: cut it slightly larger in case you made a mistake with measurements. You also might want to cut around the mirror.
Calculate how much fabric you will need and add 5-10% just in case.
Use the paper template to cut the Reflectix.
Use the paper template or your already-cut piece of Reflectix to cut fabric. Pay attention to:
how stretchy your fabric is and try not to move it around too much,
where your face side is and how it will align in the final project (basically, you will want two pieces cut that are mirror images of each other).
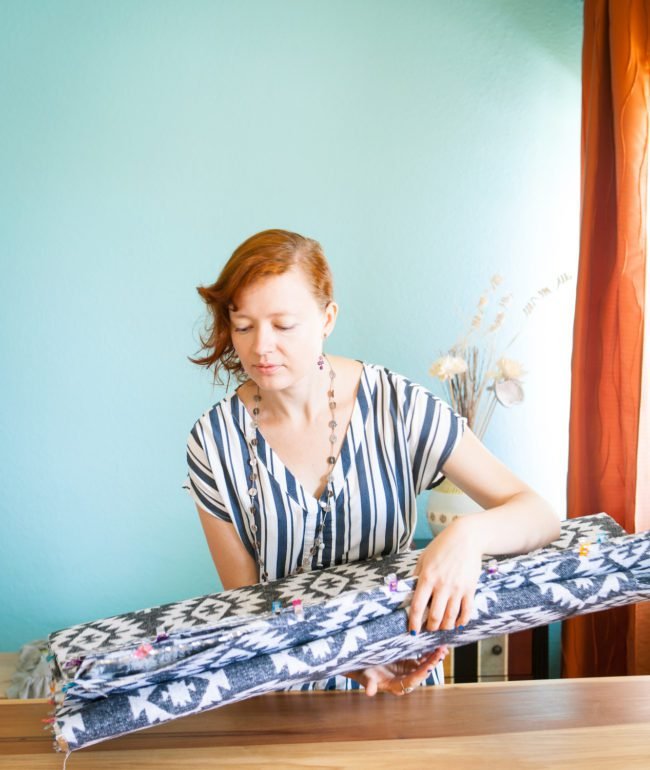
Create a sandwich of pieces of fabric with Reflectix in the middle. Use pins or clips to hold it together.
Divide the width of your sunshade by 4 and measure for crease lines. I used pins to mark the crease lines instead of using a fabric pen. Sew the lines. Be careful to not move your fabric around too much.
Stitch everything together around the perimeter.
Use clips to attach bias tape all the way around and then stitch it all together.
I your sunshade is a bit heavy or doesn’t fit snuggly into the windshield, you might want to sew on 2 or 4 suction cups to the corners to help keep it attached to the window.
Here’s another van camper and traveling-related post you might enjoy!
Note: This page contains Amazon affiliate links. I only recommend products that my family uses and absolutely loves. If you purchase something through a link, I may earn a small commission. It will not cost you anything extra but you will help to support my blog and I will be super grateful


